How to Enable Send-As Aliasing in Microsoft 365
Yeah, you’d think it’d be relatively simple, or at least the documentation would be fairly simple.
Here’s the skinny — no freekin’ Powershell required.
Log in to the Exchange Admin Console with your administrator account and access Settings from the left-hand navigation tool.

Click on Mail Flow and select the option, Turn on Sending from Aliases, then SAVE.

Return to your regular Microsoft 365 Console and access its Active Users section. Identify the user you’re toying with and click on them, entering their context page. Under the Account Tab, their aliases should be listed. Add them if needed.

Have the user open OWA (Outlook for Web), go to the gear icon (Settings) in the upper right, and search FROM, selecting Addresses to Send From. They will be brought to a screen showing their aliases. Check the desired aliases.
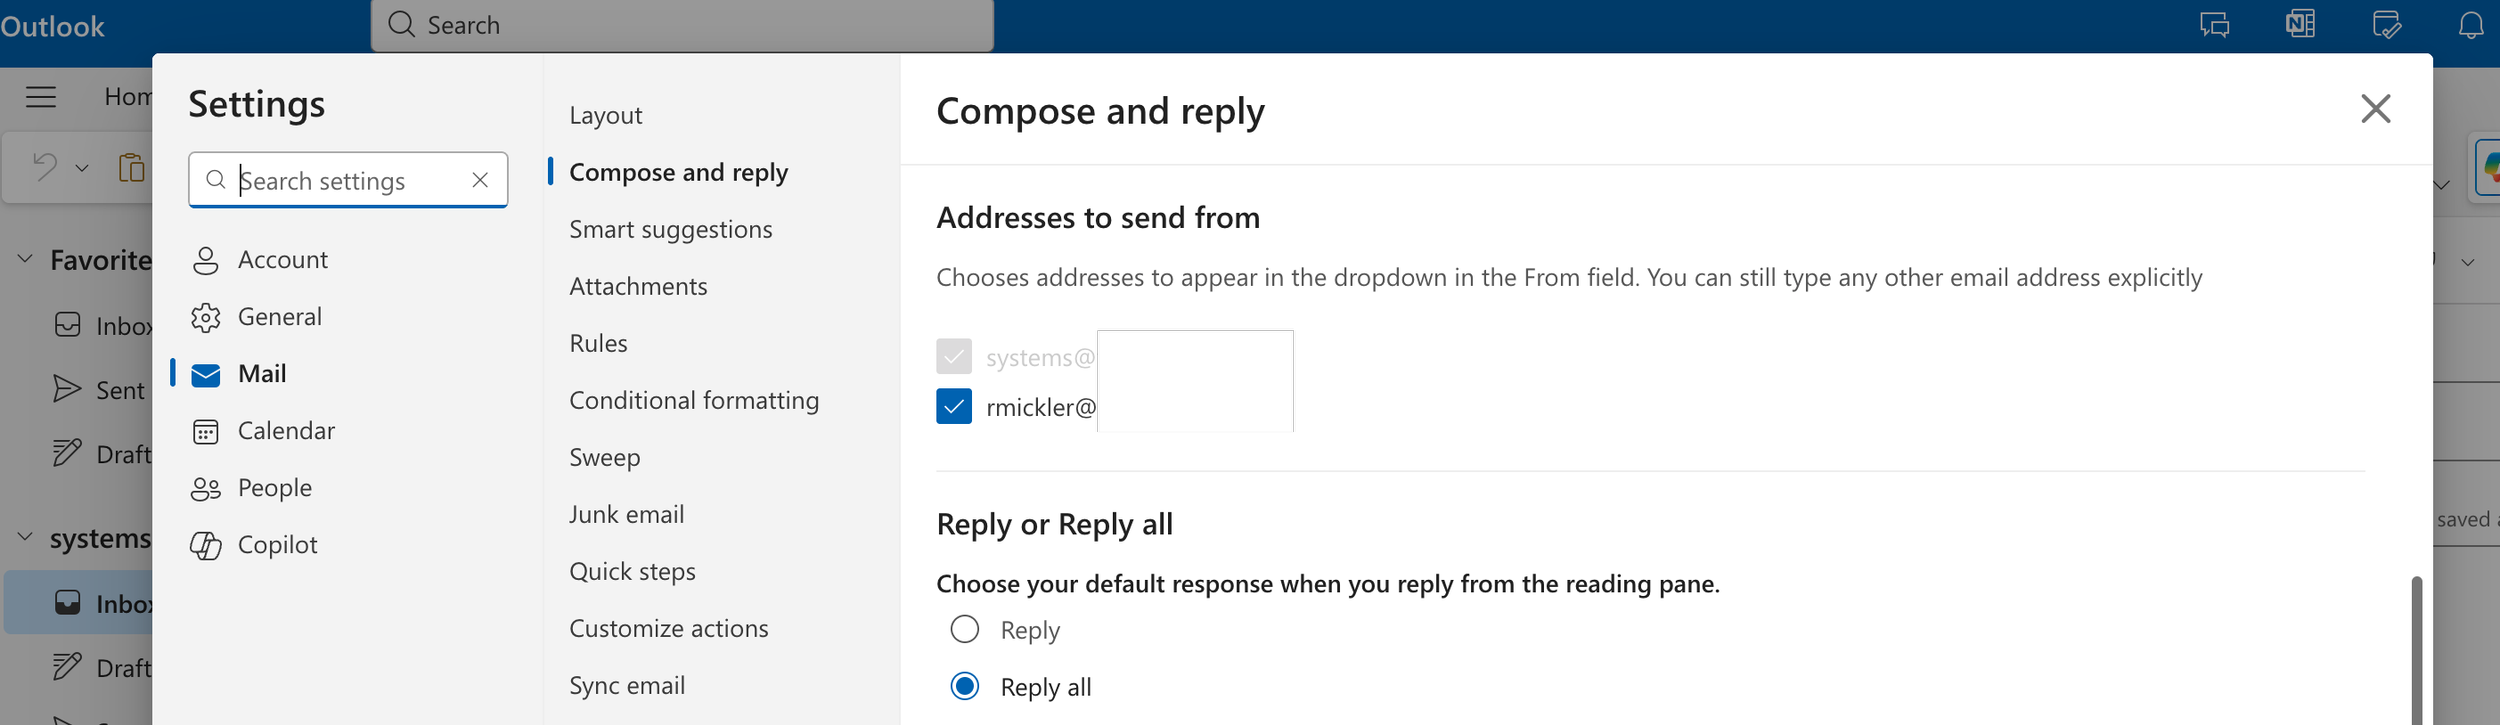
Now, have the user compose a new email in OWA. The From Field should allow a down-select on the check boxed aliases.

Closing and re-opening the thick Outlook client should inherit these settings and allow for regular Send-As functionality in Outlook.
Yeah, life should be easier. Why isn’t it, Microsoft?
R